


With time, the ear wax along with debris starts building up in your ear. If you do not remove it on time, it promotes bacterial contamination and irritation in the ear.
The clogging of your ear will also cause difficulty in hearing normal voices. Therefore, removing it regularly is necessary. You can try different massage techniques as they are safe and rarely involve inserting a Q-tip into the ear. Massaging the ears cautiously allows the wax to come out easily. It also relaxes your ear. How to Massage ear wax out? Let’s learn.
Table of Contents:- Part 1: How to Massage Ear Wax Out?
- Part 2: A Visual Representation of Ear Wax Massage
- Part 3: Alternative Way for Ear Wax Removal at Home: Bebird Note5 Ear Camera
Part 1: How to Massage Ear Wax Out?
Preparation for Ear Wax Massage
Gather Necessary Supplies
To prepare for ear wax massage, you need to have all the necessary tools and materials around you. Having everything within your reach will save you the time and energy of repeatedly fetching out equipment. What you need for ear wax massage is:
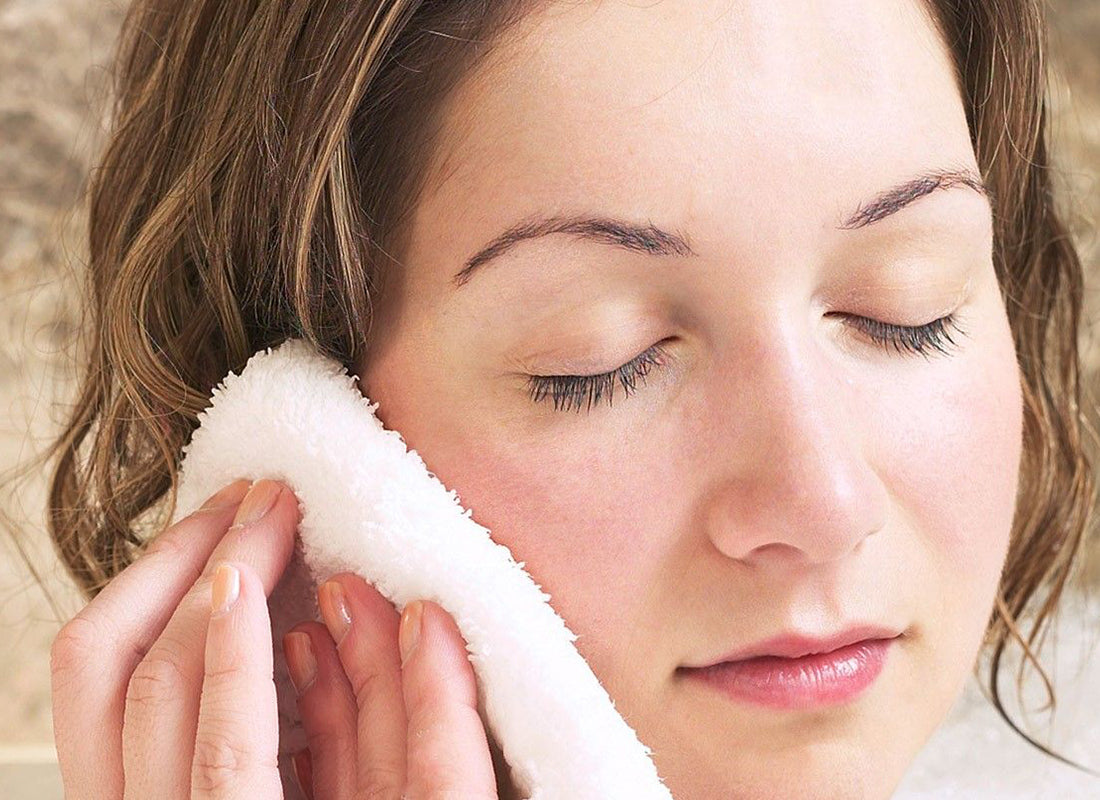
- Soft towel: When the wax comes out of your ear after massage, you can wipe it with a clean and soft towel
- How to massage ear wax out? This can be done by combining the right finger movements, some water, and warm oil to eliminate ear wax. Let’s see how to do this at home.Warm water can help in flushing the wax out of the ear
- Olive or vegetable oil: You can put vegetable or olive oil inside your ear to facilitate the wax removal by softening it
- Bulb Syringe: The bulb syringe is used to squirt water inside your ear with even pressure
Ensure a Comfortable and Clean Environment
We are done with gathering the tools. The next step is to choose the right place. The place needs to be clean, comfortable, and away from any sounds or disturbances.
If you have kids, just try to sit away from them as their loud noise can cause disturbance. They can also hit your arm accidentally while running around. So, go to a place with no kids, a peaceful environment, and clean surroundings.
Step-by-Step Guide to Ear Wax Massage
Now, let’s move towards cleaning the ears.
Step 1: Wash Your Hands
First of all, wash your hands thoroughly for at least 20 seconds before starting wax removal. This ensures that your hands are clean from any bacteria. This prevents ear infections.
Step 2: Position Yourself
Next, you need to position yourself so that the affected ear faces upwards. You can either sit on a chair or lie down. After deciding your position for wax removal, use a towel to cover your clothes as oil and wax can spill on them.
Step 3: Squirt in Some Oil
Usually, when the wax is present in the ears for a long time, it hardens up. So, warm oil can help in softening this wax. This makes wax removal easy. You can use a bulb syringe for this purpose.
Step 4: Massage the Outer Ear
Now, wait for a few minutes and start your outer ear with your fingertips. The massage is done by moving your fingertips in a gentle circular motion. This loosens up the wax and also lets the water or oil seep deeper into your ear.
Step 5: Massage the Ear Canal
You need to be a bit careful about this step. To massage your ear canal, use your index finger to reach your ear canal. Then massage in small and gentle circular motions. Do not move your fingers aggressively as it can push the wax deeper in your inner ear.
Step 6: Remove Wax
After careful massaging, move towards wax removal. Do not use cotton buds or your fingers. Use some warm water instead. Put it into your ear and then tilt your head with the affected ear facing downwards. It will let the water and softened wax out of your ear by itself.
Step 7: Clean and Dry Your Ear Thoroughly
Lastly, use a towel to pat dry your ears. Use can also use a blow dryer on very low intensity to clean the inside of your ear.
Tips for Succesful Massage and Aftercare
Do not Try Unreliable Methods
Having a little knowledge about something and still trying it is dangerous. For example, most of us use our fingers, cotton buds, bobby pins, or matchstick ends to remove ear wax. What they do is push back the wax into your inner ear. They can also rupture your tympanic membrane or ear drum causing hearing difficulties.
Therefore, it is advised not to try any unreliable methods for ear wax removal. Those things we put in our ears are not even clean which increases the risk of infection.
Always Use Water or Oil
The ear wax usually hardens in our ears and becomes difficult to remove. It might not come out on its own just by massaging the ears so we need external help.
Therefore never forget using oil to soften the wax before starting the wax removal process. Moreover, when you are using water to flush out the debris, you will not have to put your fingers or cotton buds inside the ear. This eliminates the chances of wax going deeper beyond the middle ear.
Keep Your Ears Dry after Wax Removal
Ear wax is our ear’s protective mechanism against going anything dangerous into our ears. This sticky substance entraps all the dirt our ear gets exposed to. Moreover, it keeps the bugs away from the inner ear.
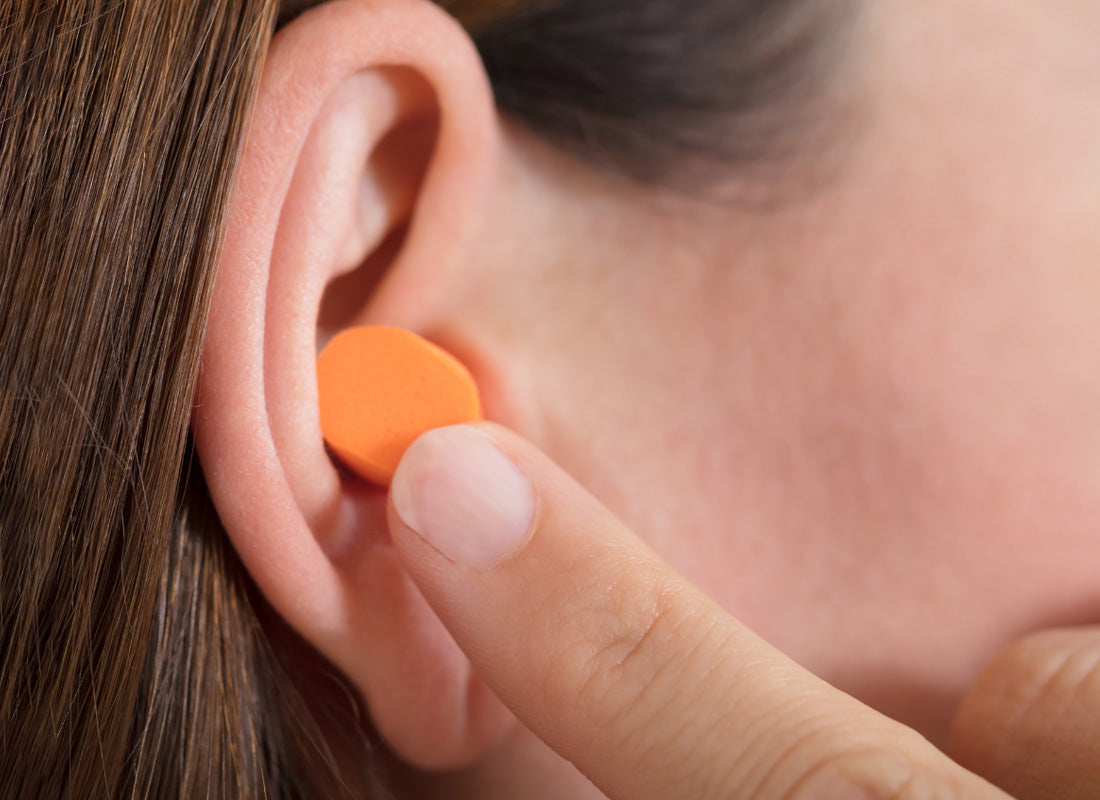
When you remove the wax buildup, our ear becomes prone to foreign bodies. Therefore, after wax removal, keep your ear dry for 2-3 days to help it make some more wax for protection. Put in earplugs while showering.
Use Oil to Prevent Buildup
To prevent any further buildups, you can put 1-2 drops of olive oil into your ear. Do it once or twice every week. A warm drop of olive oil not only helps prevent wax buildup but also hydrates the skin of your ear.
Part 2: A Visual Representation of Ear Wax Removal Massage
Looking for a how to massage ear wax out video? We have some recommendations for you that can help you understand things better.
Excessive Ear Wax: Tips for Safe Removal
This video mainly gives information about some of the tips for getting ear wax out. One of those is massaging your ear as you put in some oil. It lets the oil reach deeper. Start at 1 minute 30 seconds if you only want a demonstration for ear massaging.
How to Safely Remove Ear Wax at Home?
This video demonstrates the steps of removing ear wax when you are done softening it with oil. This is where you need a bulb syringe. Put the in using the syringe and then let the water out. You can also massage your ear a little to let all the residue come out.
Part 3: Alternative Way for Ear Wax Removal at Home: Bebird Note5 Ear Camera
Ear wax removal can become easy when you can see what is going on inside. A camera can help you see where your Q-tip is going and ensure safe removal. A mobile camera cannot do that but a Bebird camera can.
The Bebird Note5 Ear Wax Removal tool comes with a small camera that can easily enter your ear and aid in wax removal. Let’s see what benefits the tool provides:
- The camera comes with a universal electronic gyroscope that stabilizes the image even after vibrations
- Your ear canal is 4-6 mm while the camera micro lens is 3.2mm and has an outer diameter of 4.5mm. This means it can easily fit into your ear canal
- It is made using a dust-proof and fog-resistant 4P lens
- The 1080P FHD camera allows a precise and clear view
- You can also save the video to share with your doctor
Other than the camera, the soft Q-tips decrease damage risk while different colors let you distinguish yours from a family member. Furthermore, it is a 3-in-1 tool as it includes an ear camera, ear picks, and ear tweezers. This makes wax removal easy in every possible way.
Conclusion
When you massage your ear, it dislodges the ear wax from your ear and lets it come out easily as you flush in some water. It is one of the easiest techniques to unclog your ears and ensure safe ear wax removal.
However, if you cannot perform the technique right, do not keep trying by inserting cotton buds, or fingers into your ears. They can cause permanent hearing damage. Hearing this might make you want to give up but regular ear wax maintenance is necessary if you want to prevent ear infections, itching, and hearing problems.
You can just consult a professional for help and advice on the right massaging technique.


Leave a comment
This site is protected by hCaptcha and the hCaptcha Privacy Policy and Terms of Service apply.