


Our ears have a canal-like structure that appears simple from the outside but is complex from the inside. The structure is made in a way that impurities from the environment, sweat in hot weather, and water from a shower can enter the ear.
Luckily, cerumen present in the ears prevents the entry of this thing into the inner ear. However, the quantity of wax increases, and it becomes a hurdle to the normal physiology of the ear making cleaning of the ear essential.
Therefore, some people like to clean their ears when they shower. If you also want to learn how to clean your ears in the shower, we have a guide for you.
Table of Contents
Part 1: Preparing for Ear Cleaning in the Shower
You cannot put water directly into the ear and call it a cleanup session as it might affect your ear canal adversely. Rather, you need proper preparation for ear cleaning in the shower.
1. Gathering the Right Tools
While there are no particular tools required for cleaning the ears in the shower, gathering the following products can make the process easy for you.
- A mild soap or gentle shampoo
- A tool to measure the temperature and pressure of water (optional)
- A rubber syringe
- A kidney tray (optional)
- A clean washcloth
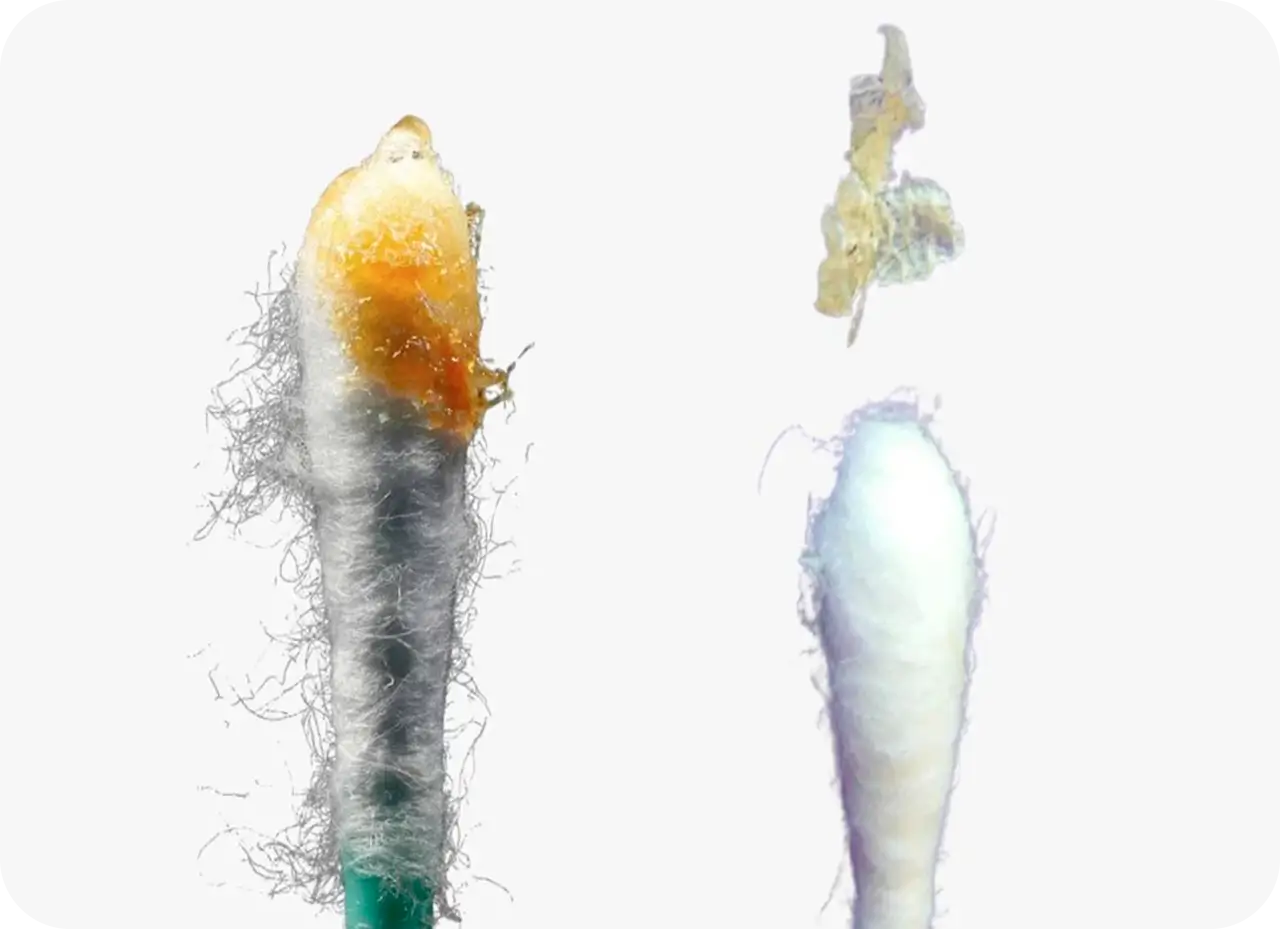
Remember that you never need a Q-tip, hair pins, or earbuds.
2. Optimal Water Temperature and Pressure
The appropriate temperature to clean the ears is near the body temperature which is around 98 fernhite. As you do not necessarily have a thermometer inside the bathroom to measure this temperature, touch the water and ensure that it is lukewarm before putting it in the ears.
Furthermore, you should keep the pressure near normal when putting it in the ear.
3. Safety Precautions and Considerations
The safety precautions and considerations for cleaning ears in the shower include,
- Appropriate temperature and pressure of water
- There must not be use of any harsh chemical, soap, or shampoo in the ear
- You must not insert a foreign object like a Q-tip in the ear canal
- Drying the ears after a shower is as essential as cleaning it in the first place
Part 2: Step-by-Step Guide for Ear Cleaning in the Shower
After making the necessary preparations, here is a step-by-step guide on how to properly clean your ears in the shower.
Step 1: Clean the Outer Ear
Grab your washcloth and dampen it slightly. Then carefully move it on the outer ear canal, both inside the outer ear and behind it as well. Do not forget the pinna and ear lobe as well.
This will help you get rid of the excessive ear wax, dust, and other impurities present in the external ear.
Step 2: Clean the Ears with Soap/Shampoo
Now the second step can be divided into two parts,
- Shampoo your hair and wash your ears while doing so. Use a gentle shampoo during this.
- Make a solution of a gentle or mild soap and water and put it in the outer ear. But do not put it too deep.
- Once you are done cleaning the ear, use plain water to remove the remnants of the products used.
Step 3: Irrigate the Ear Canal
As some of the product can still get into the ear, you should irrigate the ear canal to clean the ear well. For this,
- Take the rubber syringe and fill it will warm water
- Tilt your head and insert a stream of water in the ear
- Let it stay for a few seconds
- Tilt the head in the opposite direction to remove excess water
Step 4: Dry the Ear
Complete your shower and dry your ears afterward. We will talk about methods of drying the ears separately.
Part 3: How to Dry Ears After Showering?
Drying the ear canal after a shower is essential to prevent the buildup of excessive wax. Therefore, here are some ways to dry the ear.
1. Using a Towel
Take a clean and soft towel and pat your ear dry by gently rubbing the outer ear, back of the ear, and ear lobe.
Additionally, take measures to keep the towel to the outer ear without sticking it too deep inside.
2. Pulling the Ear Lobe
Pull the earlobe backwards and upwards gently to straighten the ear canal and turn your head a little down to remove the excess water from the ear.
In addition to simply pulling the ear, you can juggle it into and fro direction.
3. Tilting the Head
One of the simplest methods to remove excess water and dry the ear canal is by tilting the head sideways.
4. Use a Blow Dryer
Lastly, take your hair dryer, keep it at some distance, and turn it on to a low setting. Then, allow the air to get into your ear and it will dry the ear canal instantly.
Why is it Important to Dry Ears After Showering?
Although keeping your ear damp can build up the wax, more risky side effects include abnormal ear discharge and infections.
Also, it makes you prone to dizziness, ringing in the ears, and pain.
Part 4: Additional Tips and Considerations
Let us talk about some more tips on how to wash your ears in the shower.
1. Keep Q-Tips and Other Foreign Bodies Away from the Ears
Q-tips are equally dangerous to be used in the shower as they are out of the shower. Whether it is cotton buds, hair pins, or any other object, you must not put it into your ear as it can cause injury to the ear canal.
Only soft spoons called curettes or tweezers attached to a camera are suitable to be used, that too out of the shower.
2. Ensure The Temperature and Pressure of Water is Appropriate
Using the water temperature on both extremes can cause sensitivity in the delicate ear canal and associated symptoms like headache as well. Therefore, it is essential to maintain the temperature of the water you use in the shower to be lukewarm.
Water pressure should be enough to irrigate the ear canal as well as low pressure won’t clean the ear well and high pressure might cause perforation of the ear drum.
3. Do Not Stay Too Long in the Shower
Staying too soon in the shower won’t do anything good to your ears. Rather it might create a damp and warm environment that gives way to infections.
So, only take about 5 minutes to clean both of your ears and be done with it as soon as possible.
Part 5: Alternatives to Water-Based Ear Cleaning
At times people wonder “Can I take a shower with an ear infection?”. Some doctors prohibit their patients from taking showers and tell them to keep their ears dry.
In such cases, there are several other ways to clean your ears without using water in the shower. So, here are some of the alternatives
1. Saline Solution
Instead of soap water or shampoo, you can use a warm saline solution. A warm saline solution works in the same way as plain water to clean the ear. However, the saline solution also softens the wax and makes its removal easier.
2. Over-the-Counter Ear Drops
A number of solutions that contain hydrogen peroxide or carbamide peroxide are available in the market. These are available in drops or spray form. Such solutions help in dissolving the wax and removing it as well.
Moreover, a rubbing alcohol solution can also be used to keep the ears dry, especially if you are prone to swimmer’s ears or ear infections.
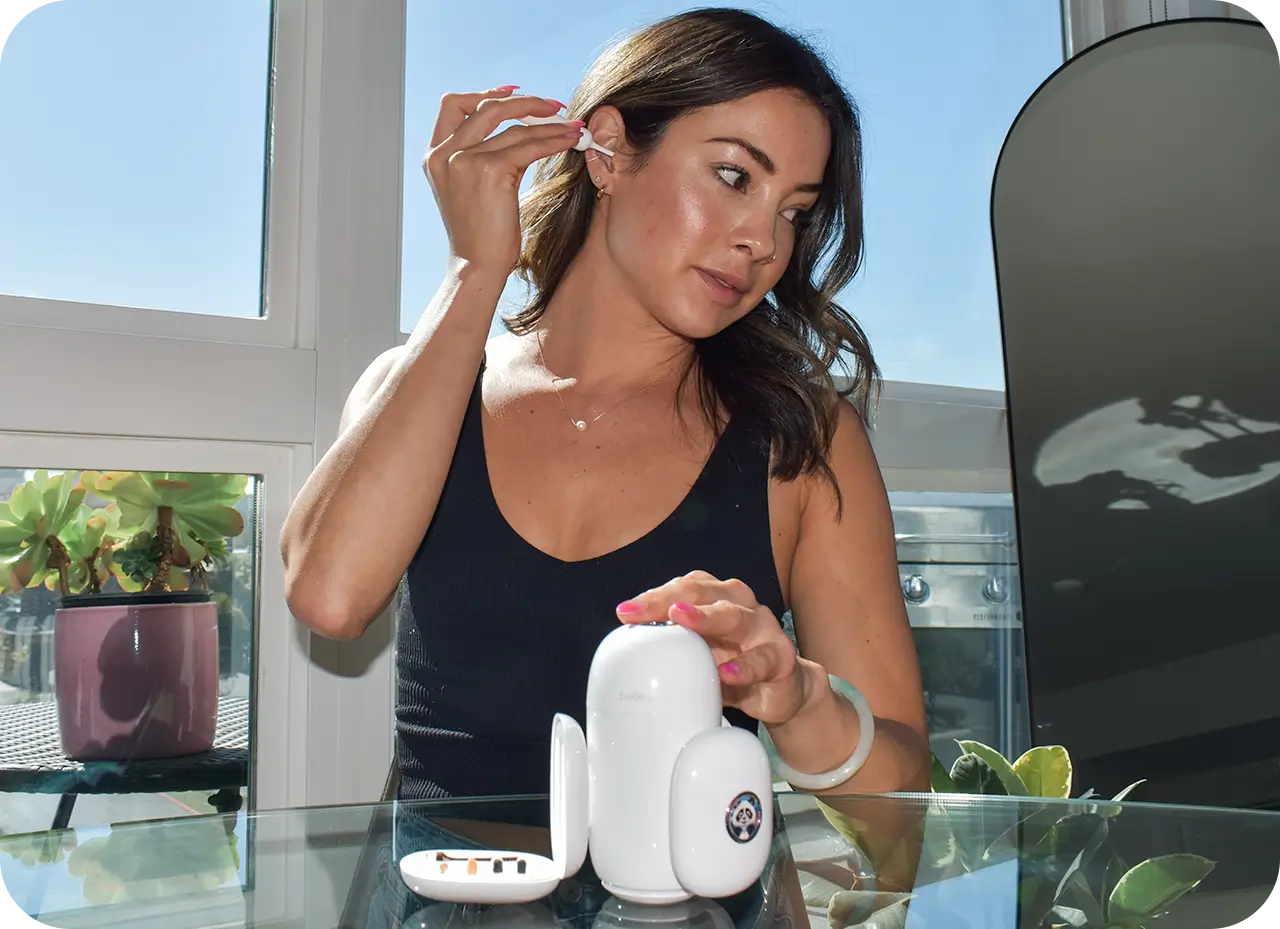
3. Bebird Note 5 Pro Ear Wax Camera
One of the most effective methods to clean the ears without using water or any other solution is the use of a Bebird Note5 Pro Ear Camera. This professionally recommended ear wax removal camera comes with both gentle spoons and highly precise tweezers.
These attachments help in the removal of excessive wax and cleaning of the ear gently. Not to mention, how the HD camera of Bebird Note Pro 5 allows you to view the ear canal and identify any abnormality.
Conclusion
One of the best times to clean your ears is when you take a shower. It is because you have the products you need to clean the ears in the shower. Additionally, there is no chance of causing a mess as you might do outside.
Therefore, we have suggested the safety and preparation tips to clean your ears in the shower along with a step-by-step guide on cleaning them. Additionally, there are also some alternative methods you can try to maintain the hygiene of your ears.


1 comment
Tony Mckenna
A friendly observation. You have text errors on your website eg : “Staying too soon in the shower” these errors make your company look unprofessional
Leave a comment
This site is protected by hCaptcha and the hCaptcha Privacy Policy and Terms of Service apply.