


Yes, hydrogen peroxide can be safe for cleaning ears—when used correctly. It's a common home remedy to loosen earwax and clean the ear canal. However, like any product, it should be used with care. If applied improperly or too frequently, hydrogen peroxide can cause irritation, dryness, or even damage to the delicate skin inside your ear. The key is to know how to use it safely and when to choose alternatives. In this article, we’ll take a closer look at hydrogen peroxide’s role in ear cleaning, the risks associated with its use, and some safer methods for maintaining ear health.
What is Hydrogen Peroxide?
Hydrogen peroxide (H₂O₂) is a common household chemical that’s often used as a disinfectant, antiseptic, and bleaching agent. It’s made up of water and oxygen, and in its pure form, it can be highly reactive, which is why it’s usually diluted to around 3% concentration for consumer use. Hydrogen peroxide’s bubbly action is what makes it effective for certain cleaning purposes, as it helps to break down organic material, including bacteria, viruses, and earwax.
It’s often marketed as a safe, natural solution for ear hygiene. However, it’s crucial to understand that while hydrogen peroxide has benefits, it should be used with caution, especially when applied to the sensitive skin inside your ear canal.
How to Safely Use Hydrogen Peroxide to Clean Earwax
Hydrogen peroxide can be an effective way to soften earwax, but using it safely requires some care. Here’s a step-by-step guide on how to use hydrogen peroxide properly for ear cleaning:
1. Choose the Right Concentration
Always use a 3% hydrogen peroxide solution for ear cleaning. This is the standard concentration available in pharmacies, and it's the safest for ear use. Never use a higher concentration, as it can cause irritation or damage to the delicate skin in the ear canal.
2. Position Yourself Correctly
Lay down with the ear you wish to clean facing upward. This will allow hydrogen peroxide to remain in the ear canal and work effectively.
3. Apply Hydrogen Peroxide
Using a clean dropper or a special ear cleaning kit, place about 5-10 drops of hydrogen peroxide into the ear. You should feel a slight fizzing or bubbling sensation, which is completely normal and indicates that the peroxide is breaking down the earwax.
4. Let it Sit
Keep your head tilted for about 5-10 minutes to allow the hydrogen peroxide to soften the wax. During this time, you may hear some bubbling sounds, which is part of the process. Don’t try to move the ear or disrupt the solution, as it needs time to work.
5. Drain the Ear
After 5-10 minutes, tilt your head in the opposite direction to allow the hydrogen peroxide and loosened earwax to drain out. You may want to place a towel or cotton ball underneath to catch any fluid.
6. Rinse with Warm Water
After the hydrogen peroxide has drained, gently rinse the ear with warm water to clear out any remaining debris. You can use a bulb syringe to do this, but make sure the water is not too hot or too forceful.
7. Dry Your Ear
Gently dry the outer ear with a clean towel. Avoid inserting anything into the ear canal, such as cotton swabs, which can push wax deeper.
Related: Are Ear Cleaning Kits Safe? What You Need to Know
What Tools Are Safer for Earwax Removal?
If you don't like the idea of relying on cotton swabs or other dangerous methods, there are now safer, more effective ways to clean your ears. Let's learn about three of the best tools for removing earwax that can help you do it safely and accurately.

1. Earwax Cleaning Kits with Cameras
One of the coolest and safest tools you can use for cleaning your ears is an ear cleaning kit with a camera. These kits usually come with a tiny camera that connects to your smartphone, letting you see inside your ear while you clean. This means you get to watch exactly what you're doing, ensuring you don't accidentally push the wax deeper or hurt your ear.
The best part? You can clean your ear with precision, making sure you only target the wax and nothing else. These tools are super easy to use, and many come with apps that guide you through the process. It’s like giving yourself a mini ear check-up at home! Tools like Bebird’s ear wax cleaning tools are a great choice, offering both safety and convenience in one.
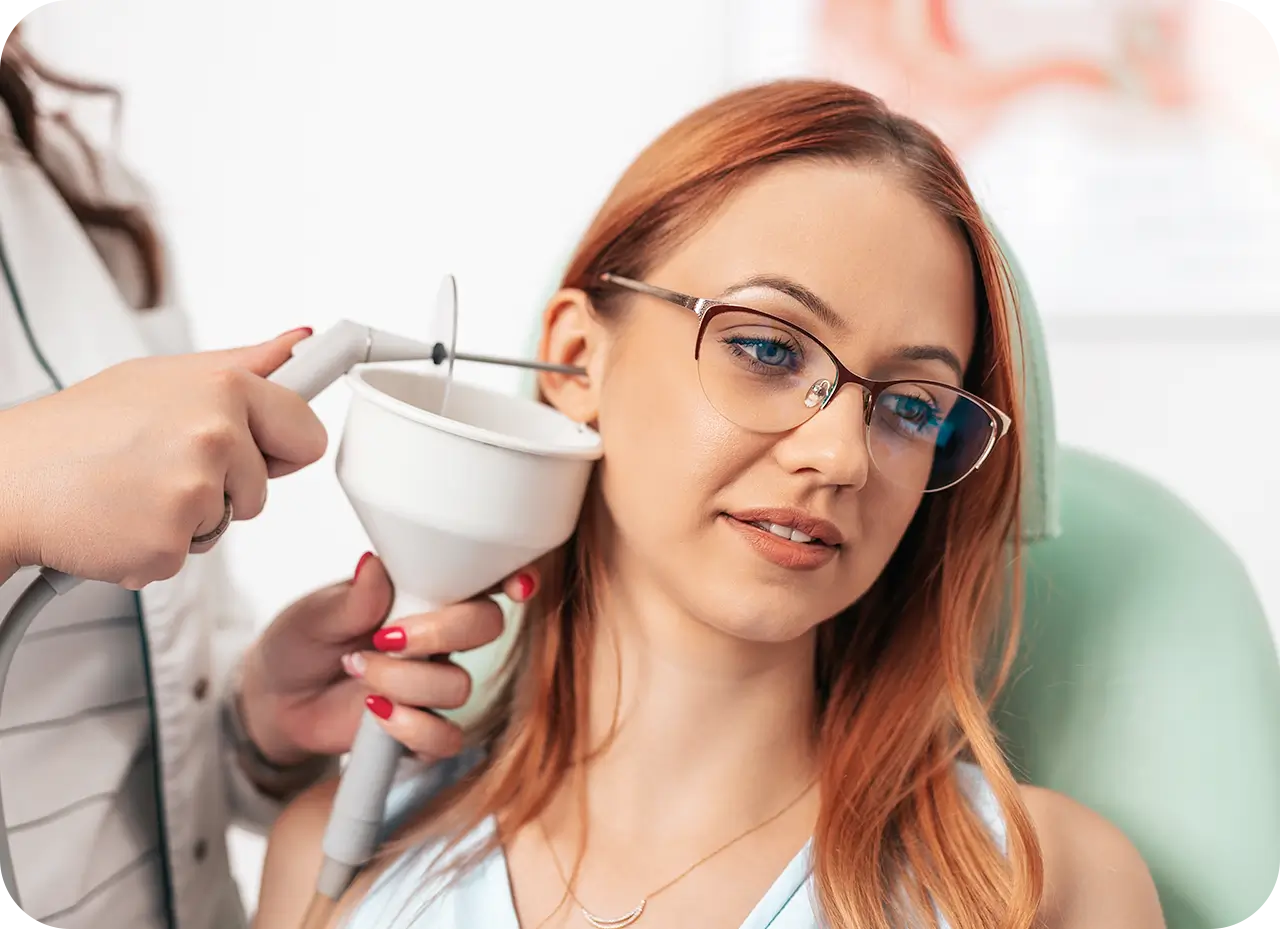
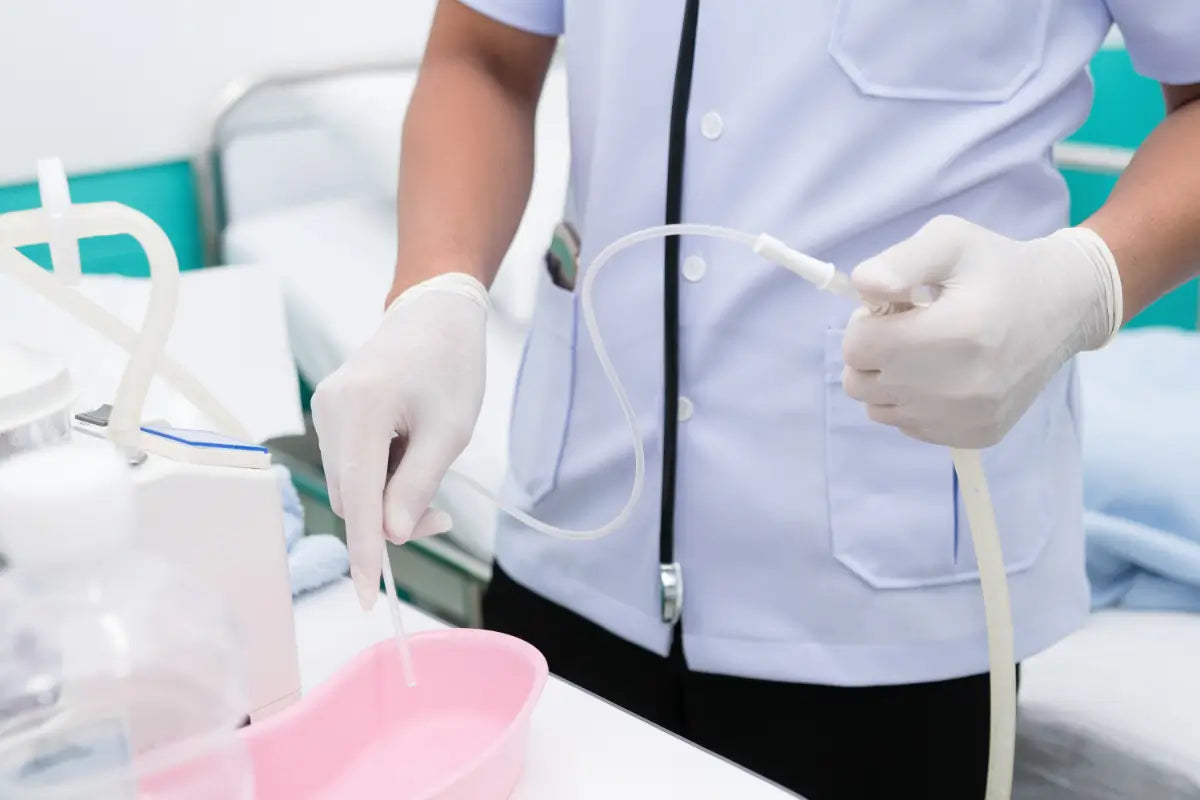
2. Bulb Syringe (Ear Irrigation)
If you’re looking for a more classic approach, an ear bulb syringe might be your go-to. This tool uses gentle water pressure to flush out earwax, especially after using ear drops to soften it. You just squeeze the bulb to shoot warm, soft water into your ear, and it helps wash away any build-up.
It’s a pretty safe method, as long as you’re gentle and use the right water temperature. Make sure the water is lukewarm—not too hot or cold—because that could cause discomfort. This method is easy to use at home and is a great way to clear the ear canal without causing any harm.
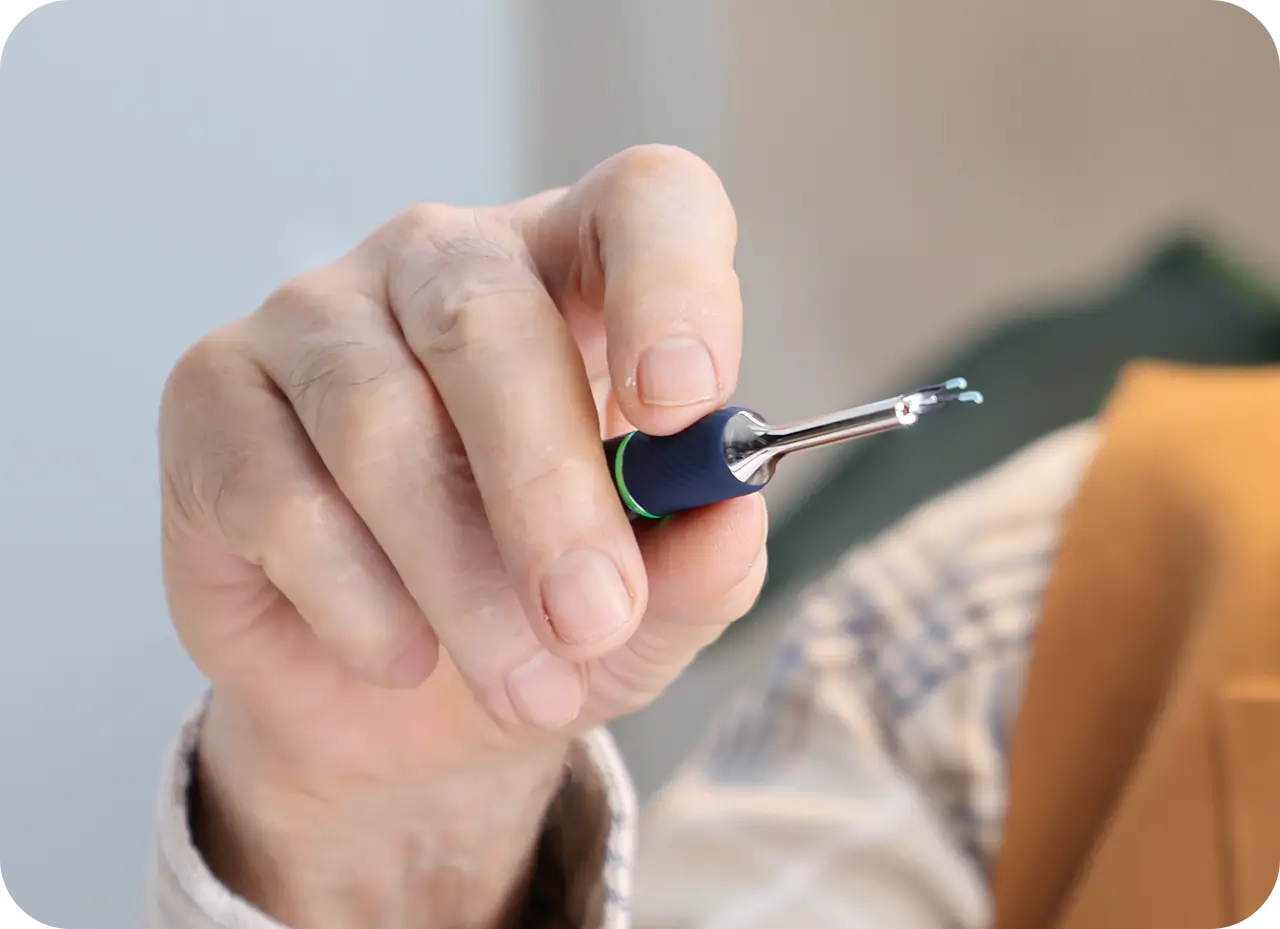
3. Soft Ear Picks
If you prefer a more hands-on approach, soft ear picks are another good option. These are simple tools with flexible, soft tips (usually silicone or soft plastic) that gently remove earwax from the outer part of your ear. They’re perfect for routine cleaning and are easy to use without risking any damage to your ear canal.
The best part about ear picks is that they're non-invasive. You can clean the outer part of your ear safely, but you won’t be going too deep into the canal where things can get tricky. Just remember not to push them too far inside your ear—you only need to clean the visible parts, not the deeper areas. They're affordable and super easy to find, making them a great option for regular maintenance.
Conclusion
Hydrogen peroxide is a safe and effective ear cleaner, but it must be used correctly. For a more controlled and safer ear cleaning experience, advanced ear cleaning kits with cameras are great alternatives.
Ultimately, the best practice for ear hygiene is to let your ears clean themselves naturally. If you notice symptoms such as ear discomfort, hearing loss, or a feeling of fullness, be sure to address them promptly with safe methods.


Leave a comment
This site is protected by hCaptcha and the hCaptcha Privacy Policy and Terms of Service apply.