


Earwax plays an important role in protecting the ear canal, but if too much builds up, it can lead to discomfort, hearing loss and even infection. Many people attempt to remove excess earwax themselves, but choosing the wrong tool or using it improperly can make the situation worse. Therefore, choosing the right earwax removal tool is crucial. In this article, I will share my professional insights on how to ensure you can properly clean your ears without causing harm based on choosing a safe and effective earwax removal tool.
Why Proper Earwax Removal is Essential
Here are a few key reasons why proper earwax removal is essential:
-
Prevents Blockage: Regular removal helps avoid a buildup of earwax that can block hearing or cause discomfort.
-
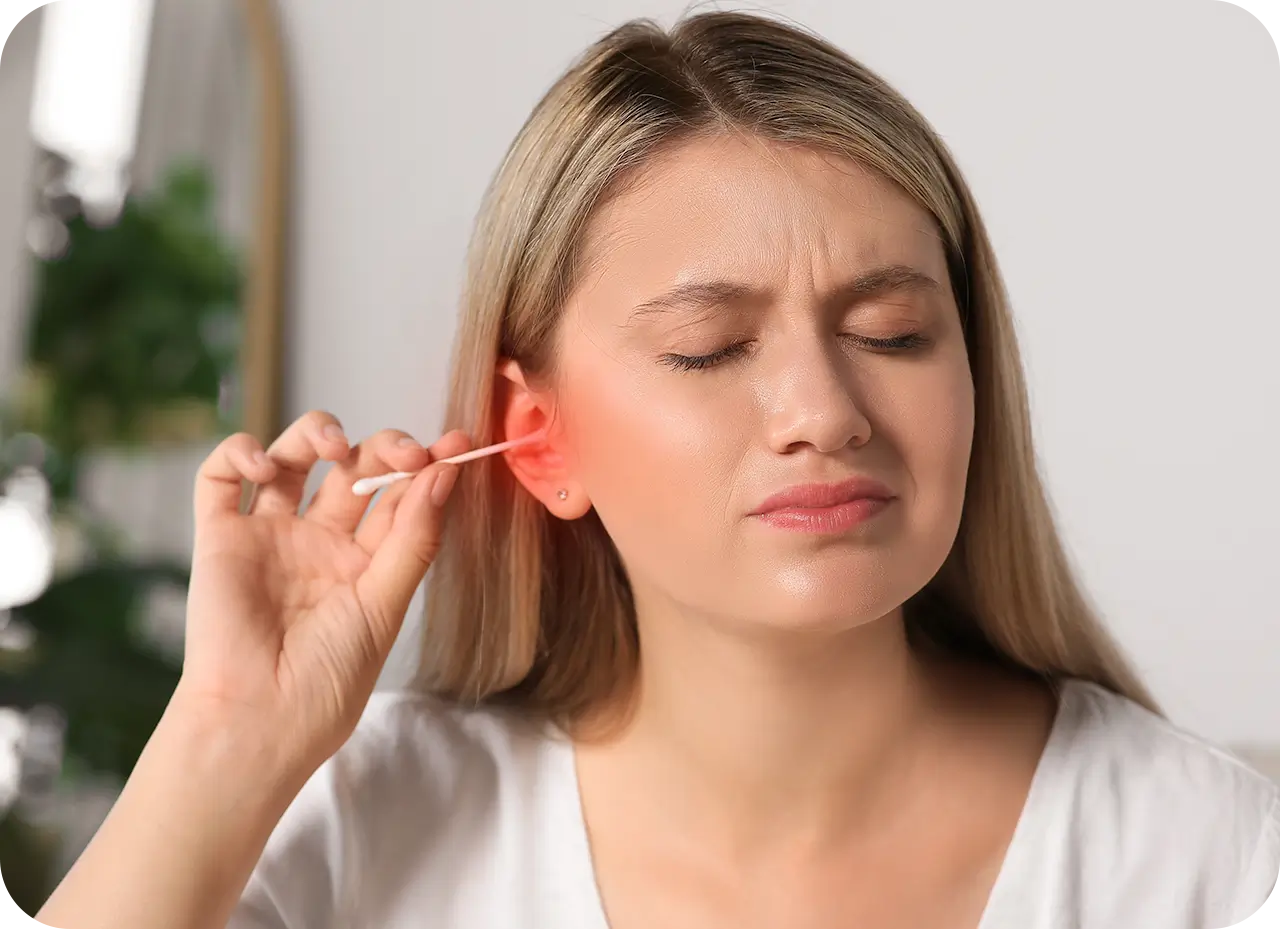
Avoids Injury: Incorrect cleaning methods, like using cotton swabs, can cause harm to the ear canal or push wax deeper.
-
Protects Ear Health: Proper cleaning reduces the risk of ear infections and keeps the ear canal healthy.
Earwax, or cerumen, serves as a natural protector for the ear canal. It traps dirt, dust, and harmful microorganisms, preventing them from reaching deeper parts of the ear. In addition, earwax has antibacterial properties that help keep the ear canal free from infections. However, when earwax accumulates in excess, it can lead to serious complications.
Over time, earwax can become impacted and harden, blocking the ear canal. This can result in a variety of issues, including muffled hearing, a feeling of fullness in the ear, itching, or even pain. In severe cases, if left unaddressed, excessive earwax can lead to infections or hearing loss. The challenge is that while earwax is a helpful substance, improper removal can turn a simple cleaning task into a risk.
Using the wrong tools or methods—such as cotton swabs or sharp objects—can inadvertently push earwax deeper into the ear canal, making the problem worse.
Factors to Consider When Choosing an Earwax Removal Kit
Here are the key factors to consider when choosing an earwax removal kit:
-
Safety Features: Look for gentle, non-invasive tools that won’t damage the ear canal.
-
Ease of Use: Choose a kit with simple, clear instructions that are easy to follow, especially for beginners.
-
Material Quality: Opt for tools made from durable, medical-grade materials like stainless steel or high-quality plastics.
-
Cleaning and Maintenance: Make sure the kit includes easy-to-clean tools, and check for removable parts for thorough sanitation.
By keeping these factors in mind, you can select an earwax removal kit that not only effectively clears earwax but also helps maintain your ear health in the long term.
When selecting an earwax removal kit, it's essential to consider a few important factors to ensure both safety and effectiveness. The wrong tools or methods can cause more harm than good, so taking the time to choose the right kit can make all the difference in maintaining your ear health.
Your ear canal is delicate, and improper use of earwax removal tools can lead to injury. Look for kits that feature non-invasive methods that gently clean the ear without causing harm.
If you’re new to ear cleaning, you want a kit that’s simple to handle, with clear instructions that make the process straightforward. Some kits come with additional guides or videos, making it easier to get it right.
Medical-grade materials, such as stainless steel or high-quality plastics, are preferable because they are durable and safe for use in the ear. These materials are less likely to break or wear down, ensuring that the tools last and remain safe to use.
Additionally, think about the cleaning and maintenance of the kit. Earwax removal tools should be easy to clean and sanitize, especially if you're using them regularly. Removable tips or non-stick surfaces can help ensure proper hygiene and extend the life of the kit.
Top Earwax Removal Tools Recommended by Audiologists
When choosing an earwax removal tool, it's important to select a device that ensures safety and effectiveness. Here are my top five recommendations for superior performance and ease of use:
Bebird EarSight Plus
Bebird EarSight Plus is an innovative ear cleaning tool with a bendable lens, providing flexibility to reach all areas of the ear canal. Equipped with a high-definition camera and a set of precision tweezers, it allows you to safely and clearly view and remove earwax. Its portable design and long battery life make it a convenient option for on-the-go ear care, with a smartphone app for easy monitoring.

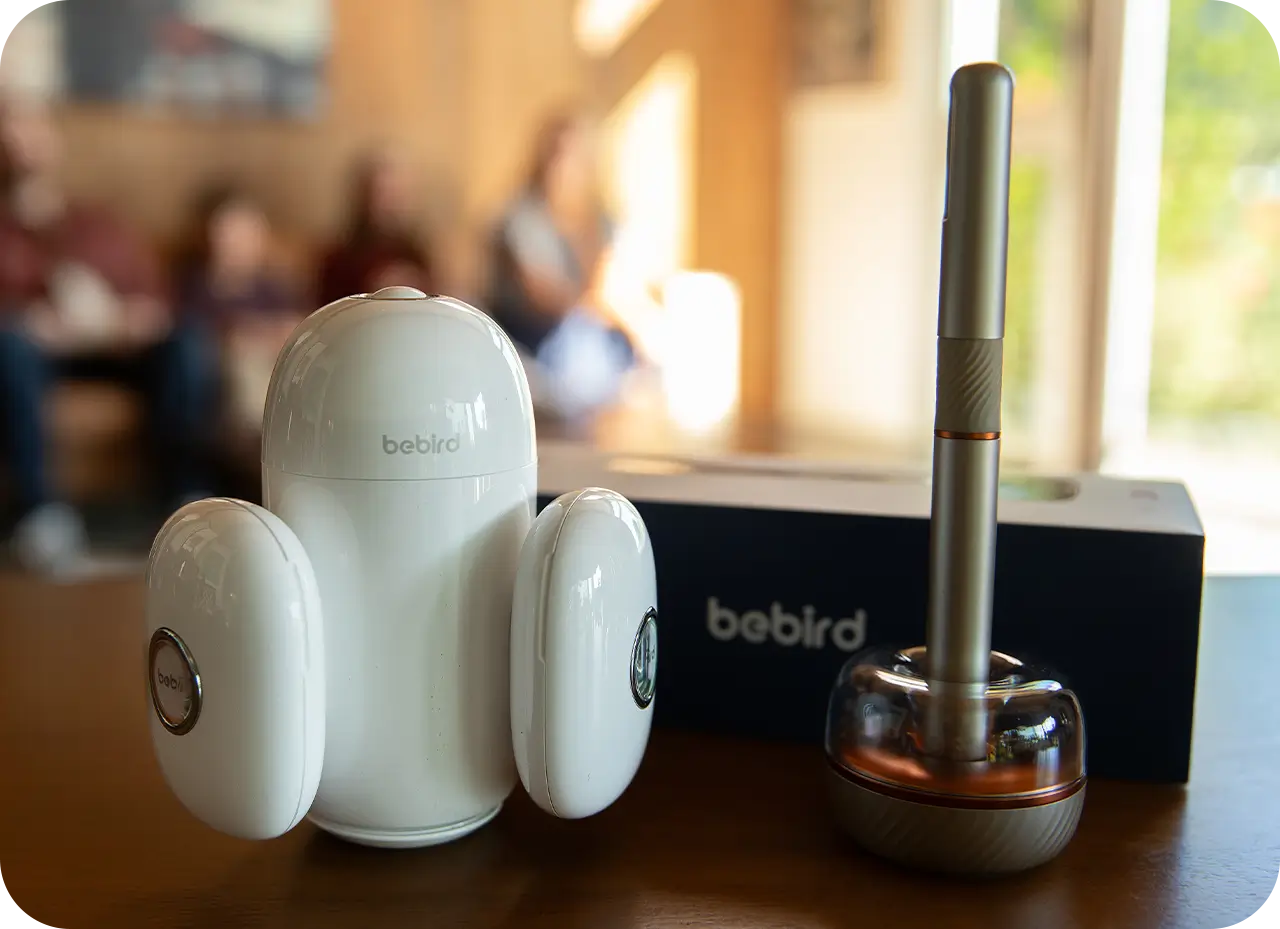
Bebird EarSight Complete
Bebird EarSight Complete is the first flexible endoscope camera designed specifically for ear cleaning. With a 10-megapixel camera and ultra-thin 3.1mm lens, this device provides clear, real-time visuals of your ear canal. It includes skin-friendly ear scoops and tweezers for precise and safe wax removal, along with visual ear drops for more effective treatment of earwax buildup or infections. The WiFi-enabled tool allows for remote monitoring and expert consultation, making it a convenient and advanced option for at-home ear care.

Linner Pictor Visual Ear Cleaner
Linner Pictor Visual Ear Cleaner offers real-time monitoring of your ear condition through its 300W HD camera, ensuring a thorough and safe ear cleaning. It features a medical-grade silicone ear pick head for comfort, and its three-axis gyroscope allows for precise cleaning from multiple angles. The device connects via Wi-Fi to your mobile device, enabling you to view live images of the ear canal for accurate and safe wax removal.
Waterpik Earwax Removal Kit
Waterpik Earwax Removal Kit is a gentle irrigation system that flushes the ear canal with warm water to remove soft and impacted earwax. With a soft-tip nozzle and easy-to-use design, it provides a safe method to clean ears without causing discomfort or injury. This tool is recommended for individuals with mild to moderate earwax buildup and is ideal for those who prefer a non-invasive cleaning option.
Q-Grips Earwax Removal Tool
Q-Grips Earwax Removal Tool features a spiral silicone tip that provides a safe and comfortable earwax removal experience. Its design helps remove wax without pushing it further into the ear canal. The flexible silicone tips are gentle, making this tool a popular choice for those looking for a non-invasive, easy-to-use solution for cleaning the outer ear canal.
Debrox Earwax Removal Drops
Debrox Earwax Removal Drops are a trusted solution for softening and loosening stubborn earwax. These drops contain carbamide peroxide, which breaks down earwax to make it easier to remove. Audiologists recommend these drops as a pre-treatment before using other ear cleaning tools, helping to soften wax and reduce the risk of injury from manual removal.
How to Use an Earwax Removal Kit Safely
Using an earwax removal kit can help maintain ear hygiene, but it’s essential to follow the correct procedures to ensure safety and prevent any potential damage to the ear canal. Here’s a step-by-step guide to using your earwax removal kit safely:
-
Choose the Right Tool for Your Needs
Before using any earwax removal kit, ensure it is suitable for your specific needs. If you're dealing with mild wax buildup, an irrigation system or ear drops may suffice. For more stubborn or impacted wax, consider using tools like a visual ear cleaner or a flexible camera system.
-
Wash Your Hands
Always begin by washing your hands thoroughly to prevent transferring bacteria or germs into your ear canal.
-
Inspect the Tool
Check the earwax removal tool to ensure it's clean and in good working condition. This is especially important for tools like ear picks, tweezers, or cameras. If the tool has disposable parts, such as silicone tips or filters, make sure they're intact and ready for use.
-
Use Ear Drops If Needed
If you're using ear drops or a softening agent (like Debrox), apply them according to the product instructions. Typically, you will place a few drops into your ear and allow them to sit for several minutes to soften the wax, making it easier to remove. Never insert a dropper or tool directly into your ear canal—always follow the recommended distance.
-
Use the Removal Tool Gently
When using a tool like a Bebird EarSight Plus or Linner Pictor Visual Ear Cleaner, avoid forcing the device into the ear. Gently maneuver the tool in small, controlled motions to break up or remove the wax. If you're using an irrigation system like the Waterpik Earwax Removal Kit, ensure that the water pressure is low to avoid injury.
-
For tools with cameras, like the Bebird EarSight Complete, ensure the lens is positioned correctly and view the ear canal's condition in real-time for precise cleaning.
-
For manual devices, such as ear picks or silicone spiral tips, move the tool in a circular motion to safely extract earwax.
-
Clean the Tool After Use
Once you have completed the ear cleaning process, thoroughly clean the tool as directed by the manufacturer. Some tools may require sterilization, while others might just need wiping with a disinfectant or using a cleaning brush.
-
Avoid Overuse
Don’t overuse ear cleaning kits. Cleaning your ears too frequently can lead to irritation or dryness. Depending on your earwax buildup, cleaning once every few weeks or months is sufficient for most people.
-
Seek Professional Help if Necessary
If you encounter excessive discomfort, pain, or suspect there is a blockage that cannot be removed safely with your kit, it’s best to consult an audiologist or healthcare professional. They can provide more advanced treatments to remove earwax safely.
Conclusion
Choosing the right ear cleaning camera or earwax removal kit doesn’t have to be complicated. Whether you opt for an advanced ear cleaning camera like the Bebird EarSight Plus or a gentle irrigation system like the Waterpik Earwax Removal Kit, it’s all about finding the tool that suits your needs and using it properly.
By considering your specific ear care needs, whether it’s tackling stubborn wax or just giving your ears a quick refresh, the right ear cleaning camera or tool can make a world of difference.


Leave a comment
This site is protected by hCaptcha and the hCaptcha Privacy Policy and Terms of Service apply.